In today’s world, security cameras have become an essential tool for ensuring safety and security in both residential and commercial settings. Whether it’s for deterring criminal activities, monitoring employees, or keeping an eye on your property, a security camera installation can provide you with peace of mind and protect your assets. However, installing a security camera system can be a daunting task, especially if you’re not familiar with the process. To help you out, we’ve compiled a list of 10 essential steps for a successful security camera installation.
Plan Your CCTV Camera Installation:
Before you start installing CCTV cameras, it’s crucial to plan the installation. This involves identifying the areas that need surveillance and determining the type and number of cameras required. You can consult with a security professional to help you determine the best locations for your cameras and the type of system that will best suit your needs.
Choose the Right Security Camera:
There are different types of security cameras available in the market, each with its own set of features and capabilities. Some cameras are designed for indoor use, while others are meant for outdoor installation. You should choose a camera that is best suited for your specific needs.
Get the Right Tools:
Installing a CCTV camera system requires specific tools, including drill bits, screwdrivers, cable cutters, crimping tools, and fish tape. Ensure that you have all the necessary tools before you start the installation.
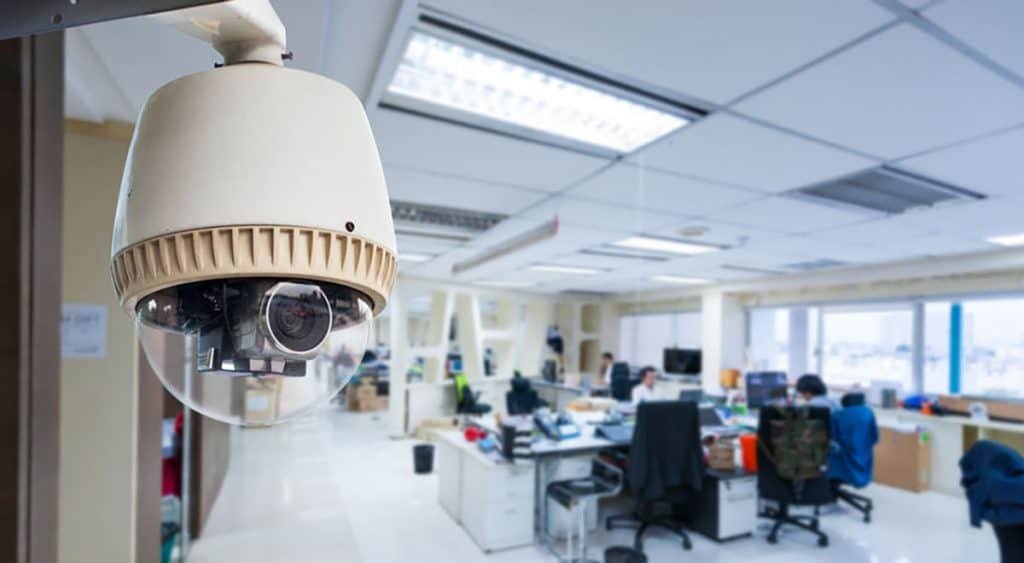
Install the Cameras:
Once you have all the necessary tools, you can begin the installation process. Start by mounting the cameras on the wall or ceiling using screws and brackets. Ensure that the cameras are placed at the right angle and height for optimal coverage.
Run Cables:
After installing the cameras, you need to run cables from each camera to the recording device. This involves drilling holes in the wall and feeding the cables through them. You may also need to use cable clips to keep the cables organized and tidy.
Connect the Cameras to the Recorder:
Once the cables are in place, you need to connect the cameras to the recording device. This involves attaching the cables to the appropriate ports on the back of the recorder.
Configure the Recording Device:
After connecting the cameras to the recorder, you need to configure the device. This involves setting up the date and time, adjusting the video quality, and selecting the recording mode.
Test the System:
Once the installation is complete, you need to test the system to ensure that it’s working correctly. Check each camera’s view to ensure that it’s capturing the intended area, and verify that the recorded footage is of good quality.
Set Up Remote Access:
Many modern CCTV cameras come with remote access capabilities, which allow you to view the footage from anywhere using a smartphone or computer. You can set up remote access by connecting the recorder to your home network and configuring the appropriate settings.
Regular Maintenance:
A security camera system requires regular maintenance to ensure that it’s working correctly. This involves cleaning the cameras, checking the cables for damage, and updating the firmware of the recording device regularly.
In conclusion, installing a security camera system can be a challenging task, but with the right tools and guidance, you can ensure a successful installation. By following the ten essential steps outlined in this article, you can ensure that your security camera installation is done correctly and provides you with the safety and security you need. Remember to plan your installation carefully, choose the right equipment, and test your system thoroughly to ensure that it’s working correctly.