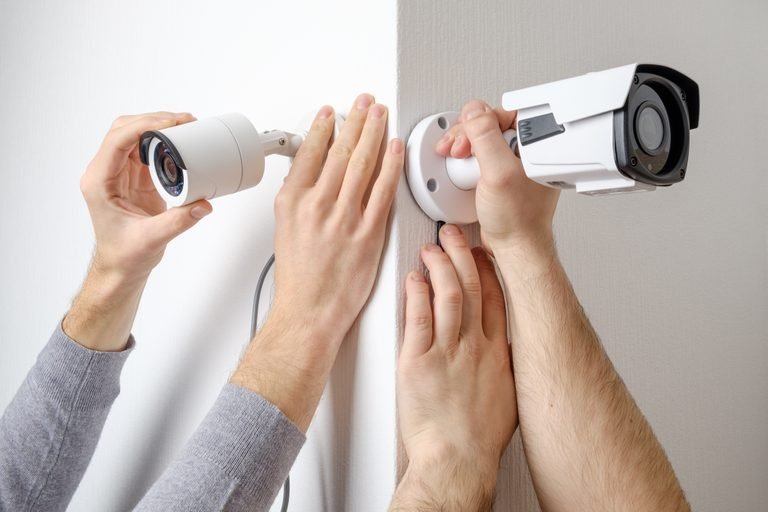
Installing a security camera system can be an excellent way to enhance the safety and security of your home or business. While hiring a professional to install your CCTV cameras can be a smart choice, many people choose to install their systems themselves. DIY camera installation can save you money, but it’s important to ensure that you’re doing it safely and correctly. In this blog, we’ll share some expert tips for DIY camera installation to help you save money and stay safe.
Plan Your Camera Placement:
Before you start installing your CCTV cameras, take some time to plan where you want to place them. Think about the areas that you want to monitor, and consider the angles that will provide the best view. You may want to draw a rough sketch of your property and mark the locations where you plan to install your cameras. Planning ahead can save you time and ensure that you’re installing your cameras in the most effective locations.
Choose the Right Camera:
There are many different types of CCTV cameras available, and it’s important to choose the right one for your specific needs. Consider the size of the area you want to monitor, the lighting conditions, and any other factors that may affect camera performance. Additionally, choose a camera that’s compatible with your existing security system if you have one.
Gather Your Tools:
Before you start installing your CCTV cameras, make sure that you have all the necessary tools. This may include a drill, screwdrivers, a level, and a ladder. Make sure that your tools are in good working condition and that you have all the necessary safety equipment, such as gloves and safety glasses.
Check Your Wiring:
If you’re installing wired CCTV cameras, make sure that your wiring is in good condition and that you’re using the right type of wiring for your camera system. Additionally, make sure that you’re familiar with the wiring instructions for your specific camera system, as wiring can be one of the more challenging aspects of DIY camera installation.
Test Your Cameras:
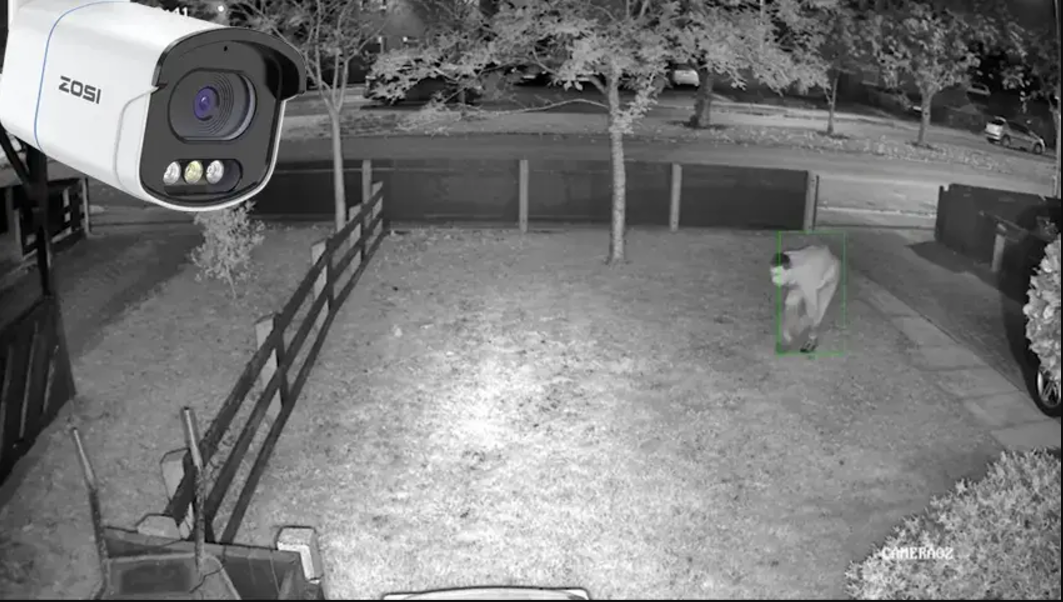
Before you complete your camera installation, test your cameras to ensure that they’re working correctly. This can involve checking the camera angles, verifying that the images are clear, and testing the video recording functionality. Testing your cameras before completing the installation can save you time and ensure that your cameras are properly set up.
Use Mounts and Brackets:
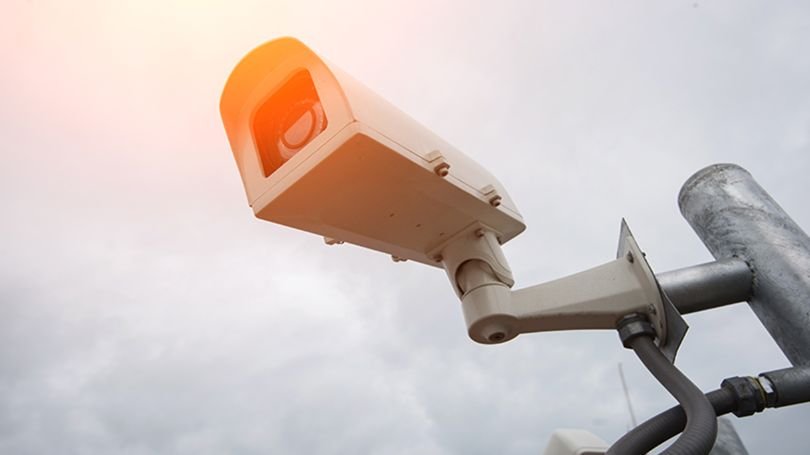
Using mounts and brackets can make your DIY camera installation safer and more secure. Mounts and brackets can help ensure that your cameras are properly positioned and reduce the risk of them being knocked out of place. Additionally, using mounts and brackets can make it easier to adjust your cameras over time if needed.
Don’t Skimp on Quality:
While DIY camera installation can save you money, it’s important to invest in quality CCTV cameras and accessories. Don’t skimp on quality to save money in the short term, as cheaper cameras and accessories may not provide the performance or durability that you need.
Follow Safety Guidelines:
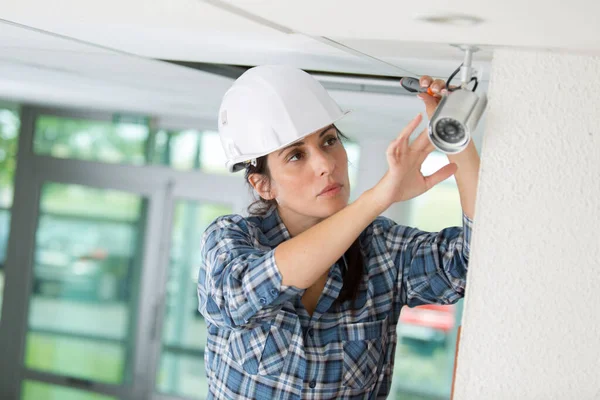
Safety should always be a top priority during DIY camera installation. Make sure that you’re following all relevant safety guidelines, such as wearing appropriate safety equipment, using a ladder safely, and securing your cameras properly. Additionally, consider enlisting the help of a friend or family member to provide an extra set of hands and enhance safety during the installation process.
In conclusion, DIY camera installation can be a smart way to save money and enhance the security of your home or business. By following these expert tips, you can ensure that you’re installing your CCTV cameras safely and correctly. Plan your camera placement, choose the right camera, gather your tools, check your wiring, test your cameras, use mounts and brackets, invest in quality, and follow safety guidelines to ensure a successful DIY camera installation.


